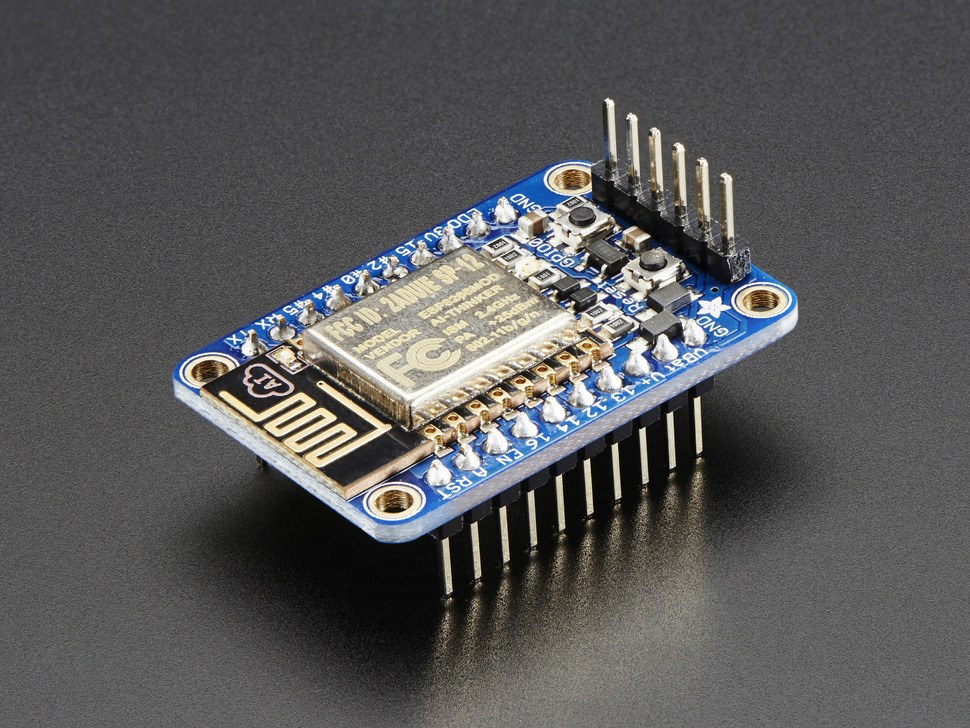
Today I got the chance to play around with the Adafruit Huzzah ESP8266 Breakout Board I got with my last order.
Getting things connected and functional is always the first step, so I tend to choose the easiest method available to me, whether I will ever choose to use that method or not. This post is an example of that, and the reasoning behind it.
I’m not going to go over the ESP8266 as it’s already been done numerous times. Here’s Adafruit’s Learn module for the Huzzah ESP8266. It’ll walk you through what the module is, to assembling it, to getting it connected.
Getting Connected
So, easiest method available for testing this module is a direct connection to a PC via an FTDI Serial TTL-232 USB Cable (pictured below).

Here is is connected to the breakout. No other connections are required. It’s in the breadboard simply to hold it in place. Keep in mind the corresponding pins will be live… meaning, USB is supplying power, ground and TX / RX signals that are broken out to other pins. If you set the pins on something conductive, you could damage the board. Hence why I put it in a breadboard. Besides, we’ll need it in a breadboard for testing it out later!

Getting the Software
You can use a few different pieces of software to connect to your ESP8266 but, again, for simplicity of testing, I chose to use LuaLoader from benlo.com. Why? Because the Huzzah ESP8266 Breakout ships preloaded with NodeMCU’s Lua interpreter. LuaLoader is designed to work with the Lua interpreter. Am I issuing the right command? In the right sequence? LuaLoader takes the guess work out of it to get you started.
If you prefer, you may use a terminal, such as Putty and follow the Adafruit’s – Using NodeMCU Lua tutorial.
Flashing Current Firmware
The next thing I did was updated the firmware (Lua interpreter) on the ESP8266. You should download the flasher from NodeMCU’s GitHub, then grab the most current firmware from NodeMCU’s Firmware page. There are two releases available – Integer and Floating Point. I chose Integer for testing and it seems to work well.
Once you have both the flasher and firmware, you need to put the ESP8266 into Bootloader Mode before opening the flasher. I found this worked reliably for me each time, while entering boot mode while already connected to the flasher didn’t always work. To enter Bootloader Mode, hold down the button connected to GPIO0, press and release the RESET button, then release the GPIO0 button. You will know you are in bootload if the red light stays lit, but dimly.
Open the flasher. If you have only one COM port, it will be selected for you. Otherwise, choose your COM port, then select the ‘Config’ tab. Click the gear icon to browse and select the firmware you downloaded in the second path line and set the offset to 0x00000. DESELECT the top path line to the INTERNAL://NODEMCU binary. It should look similar to the image below.

Go back to the ‘Operation’ tab and click Flash(F). Lights will start flashing, you should have a couple of MAC addresses show up and the progress bar should start, well, progressing. When things go well and the operation completes, you should have the image similar to the one below. Note the green check mark to indicate the operation completed without error. You now have the most current firmware and are ready to start connecting!

Connecting to An Access Point
The next step is connecting to your router or access point. With LuaLoader the process is simple. Press the “Survey” button to get a list of visible access points within range. This will make sure you can see your access point and confirm the proper name and case for you to enter. Next, in the box beside ‘Set AP’, enter your network SSID, in my case it is STUBB-WLAN. In the box under that, enter your password and click ‘Set AP’. LuaLoader will set the mode to STATION, provide your connection details and attempt to make a connection. Click the green WiFi button (between ‘Get IP’ and ‘Disconnect’) to see the status of your connection. If you get ‘1 CONNECTING’, just give it a second or two and try again. You should receive ‘5 – GOT IP’. Once you get this return message, click the ‘Get IP’ button to see your IP.
Escape Special Characters
A small note worth mentioning is, if you simply get ‘1 CONNECTING’ over and over with no actual connection or error, you want to check for special characters in either your SSID or your password. In my case, I could connect to my cell phone, but not to my actual WiFi network. The problem ended up being a special character in the middle of my password. Nice to know now, rather than when I’m developing an app, have it working, then can’t figure out why it won’t work at your place (’cause I don’t know your password and if it had a special character it would be hard to track down for sure). I’ll make sure I write some form of check for special characters. As far as I can find, for the ESP8266, they are comma (,), quotes (“) and back slash (\). You’ll need to escape any of them with the back slash (\), similar to \r\n for the Return / New Line sequence. At some point I’ll probably test out a bunch of passwords with special characters just to make sure I’m catching them all.
Here is a screen shot from the special character that was giving me problems, and the resolution. This is why I say I like to choose the easiest method to get things up and running, simply to verify my soldering / connections are good, the module is good, the firmware is good, etc., etc., etc.. There’s no sense in frustrating yourself, thinking you’re doing it all wrong, when there is an underlying problem that may not be of your doing, or even within your control. The people who make these modules for us have already gone through that. That’s why they write these tuts and test code for us! Use them!

What’s Next?
Try out a connection to the Internet – that’s what we’re really after, isn’t it? Below is from the Adafruit Learn Module, to connect and get a response from their website, both with an IP and via DNS. You’ll want to copy these, a line at a time (there are four lines in each example), into the ‘Paste Text’ box of LuaLoader and click ‘Send’. You’ll get your response after the last line in each example. You should get a return HTTP Header with the message “This is a test of the CC3000 module. If you can read this, its working :)”.
First, via IP;
sk=net.createConnection(net.TCP, 0)
sk:on(“receive”, function(sck, c) print(c) end )
sk:connect(80,”207.58.139.247″)
sk:send(“GET /testwifi/index.html HTTP/1.1\r\nHost: www.adafruit.com\r\nConnection: keep-alive\r\nAccept: */*\r\n\r\n”)
Second, via DNS;
sk=net.createConnection(net.TCP, 0)
sk:on(“receive”, function(sck, c) print(c) end )
sk:connect(80,”www.adafruit.com”)
sk:send(“GET /testwifi/index.html HTTP/1.1\r\nHost: www.adafruit.com\r\nConnection: keep-alive\r\nAccept: */*\r\n\r\n”)
I’ll update this when I move it to either an Arduino, or PIC and try out the AT command set. Thanks for reading!


